Running the Bluelink menu
You can run the Bluelink in the system to use the service.
On the All Menus screen, press Bluelink.
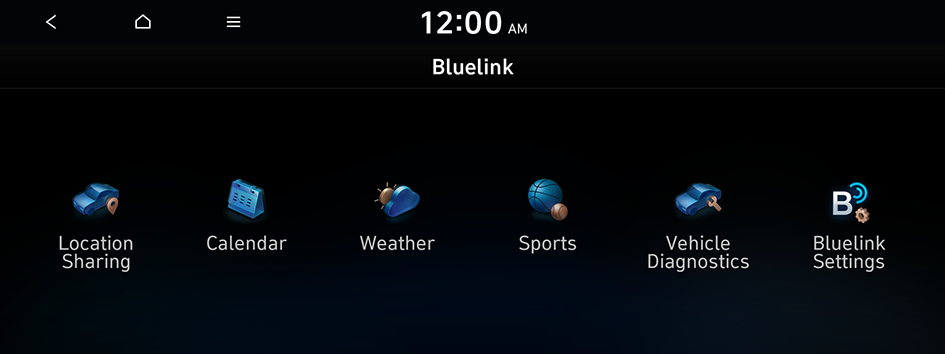
Type1
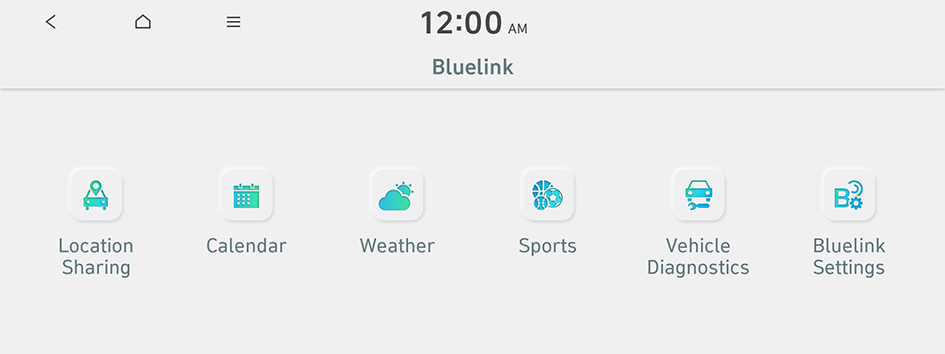
Type2
- The screen may differ depending on the vehicle model and specifications.
- If the vehicle is type 2, it is possible to change the graphic theme to white or black. ▶ See "Graphic Themes (if equipped)."
Sharing the vehicle location
You can share the current location of the vehicle and the destination with others. You can select up to 15 recipients to share the location with by searching contacts on your mobile phone via Bluetooth or by manually entering the phone numbers.
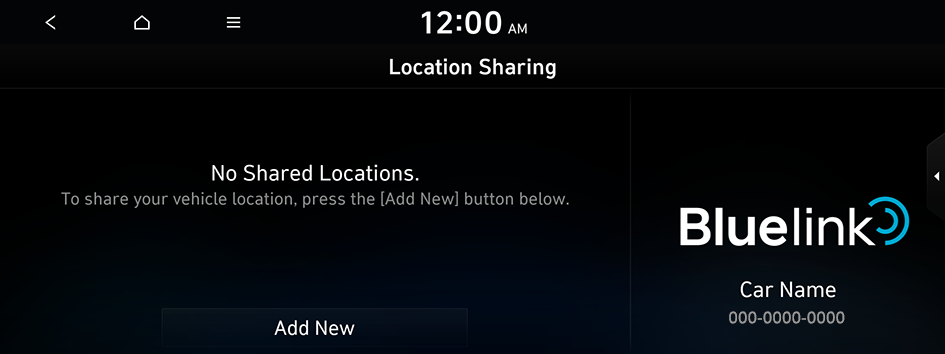
- On the All Menus screen, press Bluelink ▶ Location Sharing.
- Press Add New.
- Enter values for recipient and message.
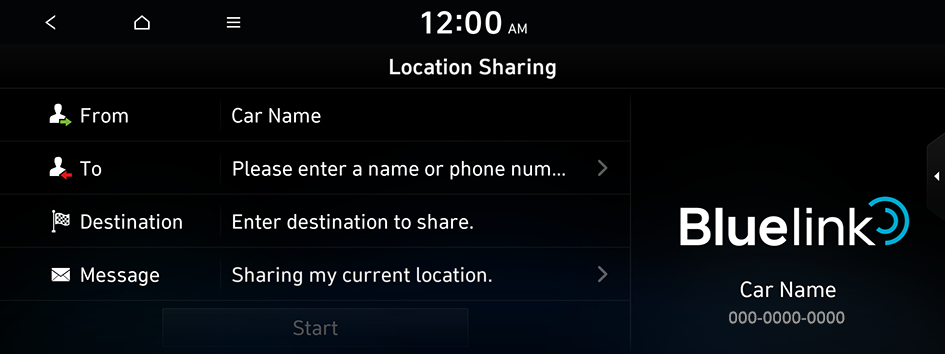
- Before entering the recipient's phone number, note the following. ▶ See "Phone number entry screen."
- Press Start.
The location sharing icon appears on the screen. A text message with the URL that gives access to the current location of the vehicle, is sent to the recipient.
- When the destination is already set, the vehicle location is shared for the remaining time for arrival + 30 minutes. When the destination is not set, the recipient can see the vehicle location for 60 minutes.

- To use this service, you must consent to the provision of personal information to third parties.
- While the vehicle is turned off, the location cannot be shared. After the vehicle is turned on, the location sharing is enabled.
- The current location, remaining time, and remaining distance may not match depending on the network connection status.
Phone number entry screen
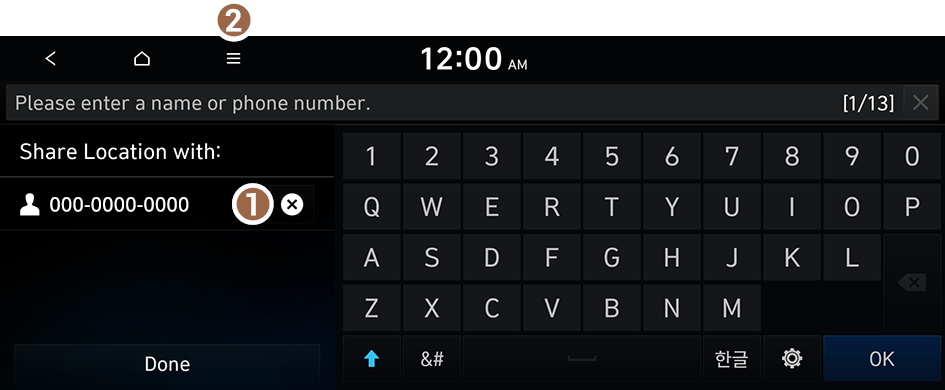
- You can delete phone numbers from the list.
- The list of menu items appears.
- • Display Off: Turns off the screen. To switch the screen back on, press the screen or briefly press the power button (if equipped).
- • Caller Info: You can see and change the caller information (if equipped).
- • Edit Messages: Edit the message that is transmitted when you share your car location (if equipped).
- • User's Manual on Web (QR Code): Displays the QR code that provides access to the online user manual for the system (if equipped).
- • Split Screen: Can turn on or off the split screen mode.
- For the recipients, you can add up to 15 values.
Location sharing screen
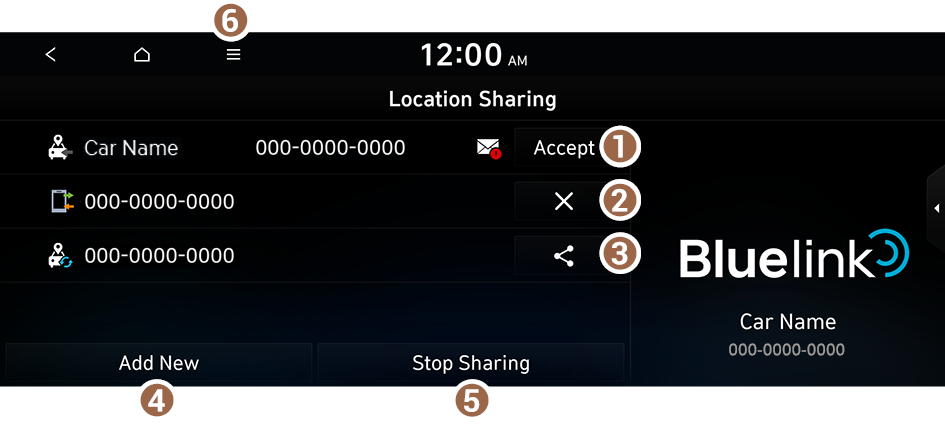
- You can accept the location sharing request.
- Can cancel the vehicle location sharing.
- Can share the vehicle location again.
- Can share the vehicle location with recipients.
- Can select the recipients and cancel the vehicle location sharing.
- The list of menu items appears.
- • Display Off: Turns off the screen. To switch the screen back on, press the screen or briefly press the power button (if equipped).
- • Delete: You can delete the selected items that have been closed or canceled in the Location Sharing list (if equipped).
- • Caller Info: You can see and change the caller information (if equipped).
- • Edit Messages: Edit the message that is transmitted when you share your car location (if equipped).
- • User's Manual on Web (QR Code): Displays the QR code that provides access to the online user manual for the system.
- • Split Screen: Can turn on or off the split screen mode.
- To delete any of the sharing list, on the location sharing screen, press
 ▶ Delete.
 - You cannot change or delete the location information shared.
- The location sharing information can be saved up to 100 items. When the storage space is not sufficient, data is automatically deleted from the oldest ones.
Transmitting the vehicle location automatically (if equipped)
When a registered favorite place is set as a destination, you can set to automatically transmit the vehicle location to a contact.
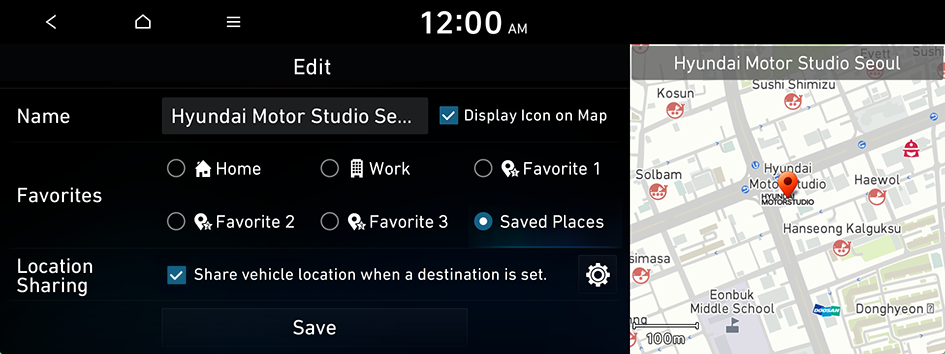
Setting the automatic transmission of the vehicle location
- On the All Menus screen, press Navigation Menu ▶ Saved Places.
- From the location data on the system, press Edit on the selected item for automatic transmission.
- Check Share vehicle location when a destination is set..
The screen appears to let you enter the vehicle location sharing for automatic transmission. Enter the details and then press Save.
- Setting is possible only when there is any phone number for location sharing.
Running the automatic transmission of the vehicle location
- On the All Menus screen, press Navigation Menu ▶ Saved Places.
- From the location data on the system, select the desired item and then press Route.
- You can also select the item by pressing Favorites at the bottom of Navigation Menu.
- Press Start Guidance.
The location sharing icon appears on the screen. A text message with the URL that gives access to the current location of the vehicle, is sent to the recipient.
- When the destination is already set, the vehicle location is shared for the remaining time for arrival + 30 minutes. When the destination is not set, the recipient can see the vehicle location for 60 minutes.
- To use this service, you must consent to the provision of personal information to third parties.
- While the vehicle is turned off, the location cannot be shared. After the vehicle is turned on, the location sharing is enabled.
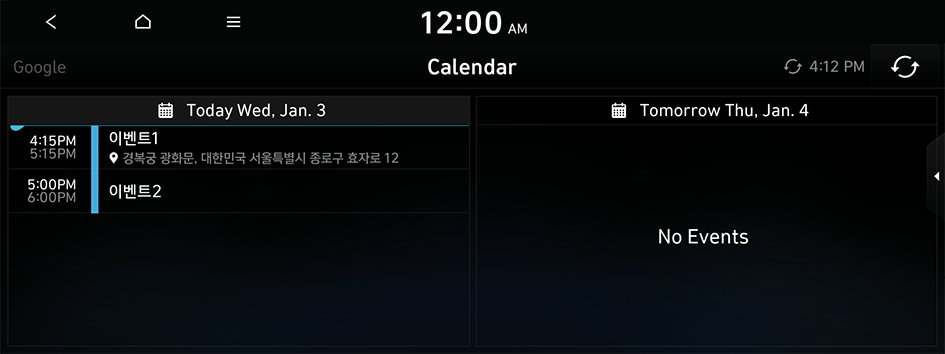
Checking schedule details (if equipped)
View the schedule details for today and tomorrow.
On the All Menus screen, press Bluelink ▶ Calendar.
- To use the calendar, make sure you install the myHyundai App on your smartphone and sign up for the Bluelink Service. Use either Google Play Store or App Store (depending on your smartphone model) to download and install the myHyundai App and sign up for the Bluelink Service. ▶ See "Subscribing to the service"
- To use the calendar, make sure your user profile is linked to your Hyundai Motor Company single sign-on account. It is not possible to use the calendar if your user profile is set to "Guest." To link your user profile to your Hyundai Motor Company single sign-on account, press Setup ▶ User Profile from All Menus.
Calendar screen
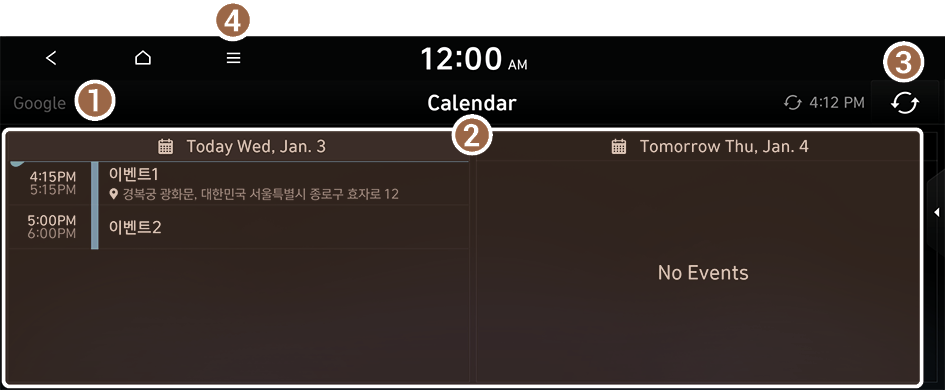
- View the schedule details for today or tomorrow.
- Update with the latest schedule details.
- The list of menu items appears.
- • Display Off: Turns off the screen. To switch the screen back on, press the screen or briefly press the power button.
- • Sync now: Sync to the latest schedule details of the linked account.
- • Select Calendar: Select the calendar to display on the screen.
- • User's Manual on Web (QR Code): Displays the QR code that provides access to the online user manual for the system.
- • Split Screen: Can turn on or off the split screen mode.
- Available icons and their arrangement may differ depending on the vehicle model and specifications.
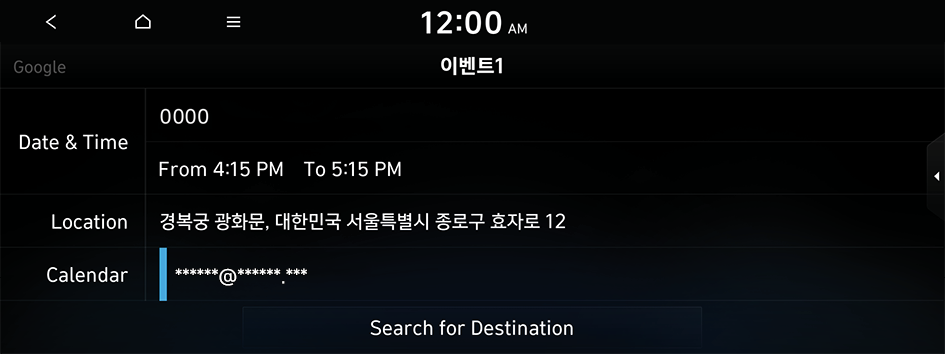
Setting a destination
You can view schedule details and set a destination by pressing a schedule from the calendar screen.
- If location information is registered in the schedule, the registered location is automatically set as the destination.
- From the calendar screen, press the schedule to set a destination for.
- Press Search for Destination.
- The screen may differ depending on the vehicle model and specifications.
- Enter the destination details, such as the name (business name), address, and phone number.
The recommended terms for the entry appear on the left in real time.
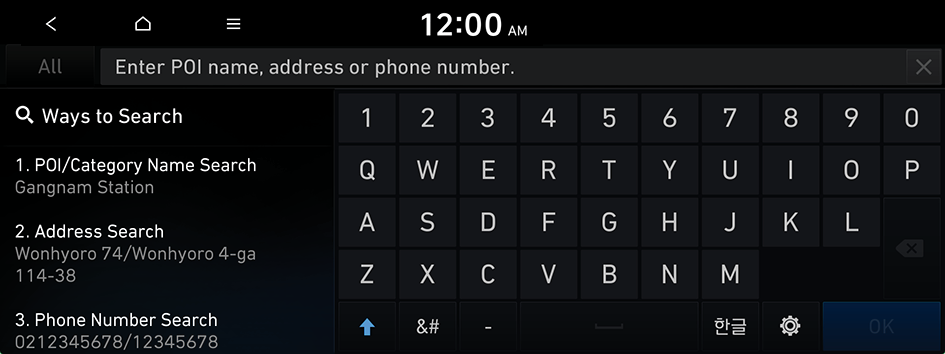
- The screen may differ depending on the vehicle model and specifications.
- Select the desired destination from the search result.
- Check the location of the destination and then press Route.
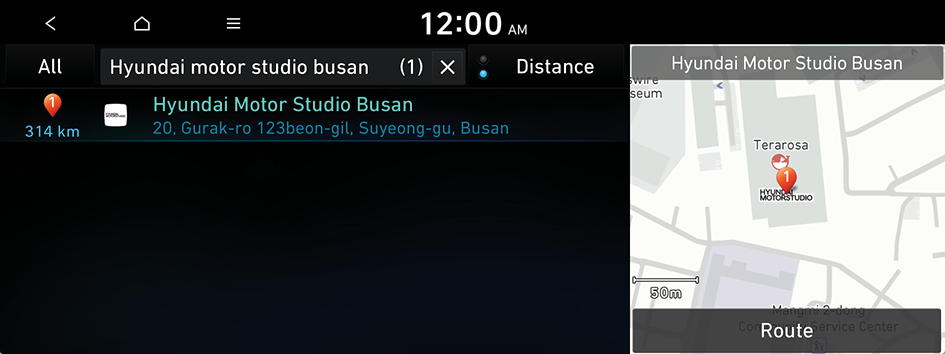
- When you see the search result list, press the desired destination to see on the map.
- The screen may differ depending on the vehicle model and specifications.
- Select the desired route from the searched ones and press Start Guidance.

- The screen may differ depending on the vehicle model and specifications.
Schedule reminder
A schedule notification pops up at a specified time.
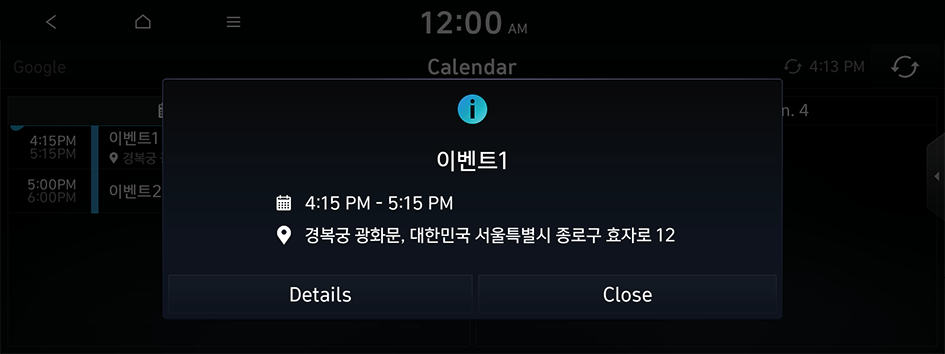
- To view schedule details, press Details.
Sharing a location
If the estimated time to arrival is later than the time specified in the calendar's schedule, a notification and a location sharing function are provided in a pop-up window.
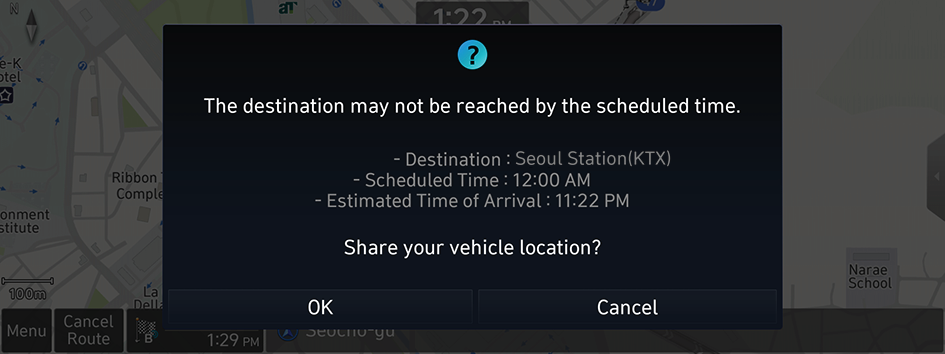
- To use the location sharing function, press OK from the pop-up window.
Checking weather information
You can view weather information (e.g., temperature, humidity, precipitation and rainfall probability) for today, or the weather forecast.
- The weather information is accessible only when the system is connected to the network.
On the All Menus screen, press Bluelink ▶ Weather.
Weather information screen
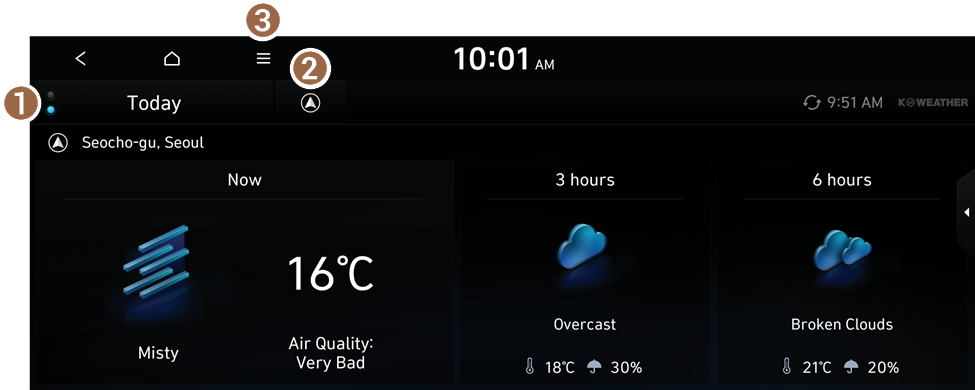
- Select today's weather and the weather forecast.
- Shows the weather for the current location.
- This icon is displayed when a destination or waypoint is set.
- The list of menu items appears.
- • Display Off: Turns off the screen. To switch the screen back on, press the screen or briefly press the power button.
- • Update Now: Update to the latest weather information.
- • User's Manual on Web (QR Code): Displays the QR code that provides access to the online user manual for the system.
- • Split Screen: Can turn on or off the split screen mode.
Checking sports event updates
You can see the results and related information for each sports event type. The matches of yesterday are provided before noon and today's matches are provided after noon.
- On the All Menus screen, press Bluelink ▶ Sports.
- Select the desired sports.
Sports game information screen
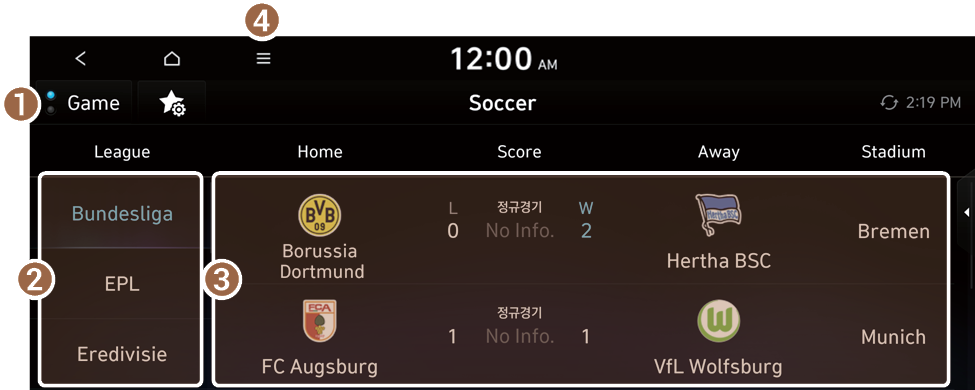
- Change the sporting event information view mode.
- Can select a sports event type for information.
- Can see information of the selected sports event type.
- When you set the teams of interest, the game information for those appears on top of the list.
- The list of menu items appears.
- • Display Off: Turns off the screen. To switch the screen back on, press the screen or briefly press the power button.
- • Update Now: Can update to the latest list.
- • Game/Rank: Change the sporting event information view mode.
- • My Teams Settings: You can set your favorite teams to display at the top of the sports game list.
- • User's Manual on Web (QR Code): Displays the QR code that provides access to the online user manual for the system.
- • Split Screen: Can turn on or off the split screen mode.
- The displayed screen may differ depending on the type of sport.
Setting the teams of interest
You can set your favorite teams for each sports event type. You can easily check game information for those teams on top of the list.
- At the upper left of the Sports screen, press ▶ My Teams Settings.
- Select teams to set as the teams of interest.
The game information for those teams appear on top of the list.

Diagnosing the vehicle
When the warning lamps for the engine or transmission system illuminate on the instrument panel, the vehicle status can be diagnosed remotely. Once the vehicle information has been transmitted to Hyundai Motor Company Customer Center, the agent can provide you with the diagnosis results and arrange optional services such as towing, routing to a nearby service shop, and scheduling for repair.
- When the corresponding warning lamp illuminates during diagnosis, park the vehicle at a safe place.
- The vehicle must be stationary because some components cannot be diagnosed while driving.
- On the All Menus screen, press Bluelink ▶ Vehicle Diagnostics.
Remote vehicle diagnosis starts.
- Keep the screen on until the diagnosed result appears. When you switch to another screen during diagnosis, the diagnosis service is canceled.
- View the diagnosis results and perform a required function, as follows:
- • To find the locations of nearby service centers, press Nearby Service Center.
- • To contact the Hyundai Motor Company Customer Center and check the problem details, press Bluelink Center.
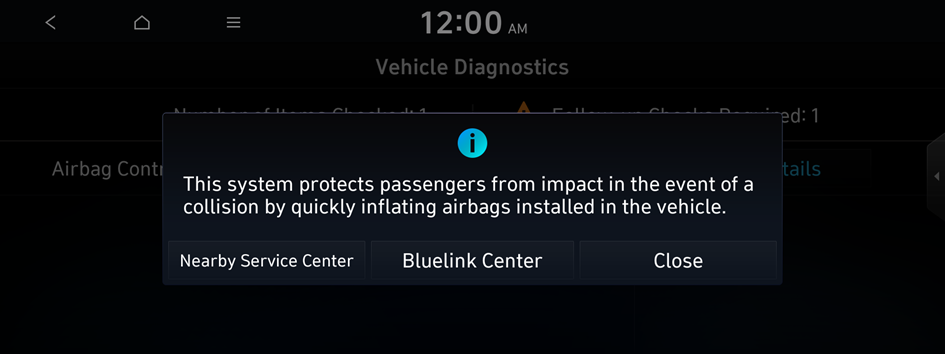
- The vehicle diagnosis service is available only when the engine or transmission system warning lamp illuminates. The engine and transmission system warning lamps are closely related to the vehicle safety.
- If a problem occurs during use of the vehicle, press the [
 ] button in the vehicle to request a towing service or route guidance to a service center.
 - The diagnosis result is the primary result based on the vehicle signals. Visit the official service center or service agency for exact inspection.
Configuring the Bluelink settings
You can subscribe to the Bluelink service and activate your account or see the modem information.
- On the All Menus screen, press Bluelink ▶ Bluelink Settings.
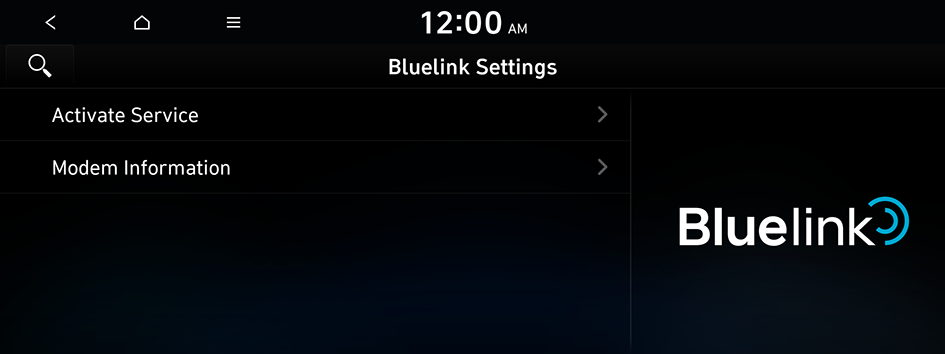
- Select the desired option(s):
- • To subscribe to the Bluelink service, press Activate Service.
- • To see the modem information, press Modem Information.


