Configuring the screen layout or screen theme/layout settings (if equipped)
You can configure the settings for the display and themes.
- Available settings may differ depending on the vehicle model and specifications.
- On the All menus screen, press Settings ▶ Layout or Theme/Layout.
The screen layout or screen theme/layout settings screen appears.
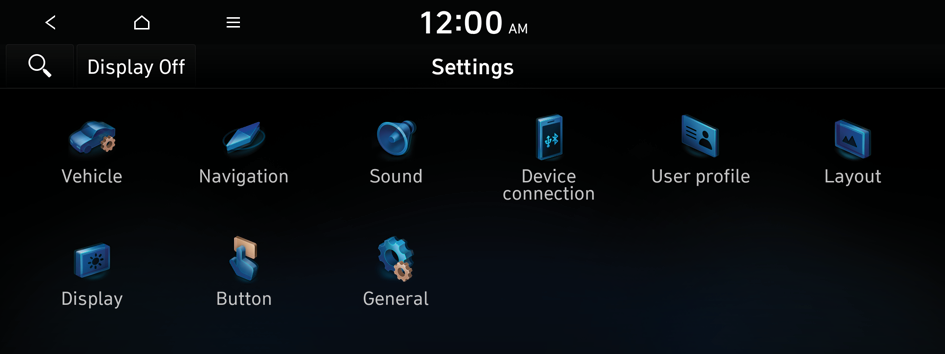
Type1
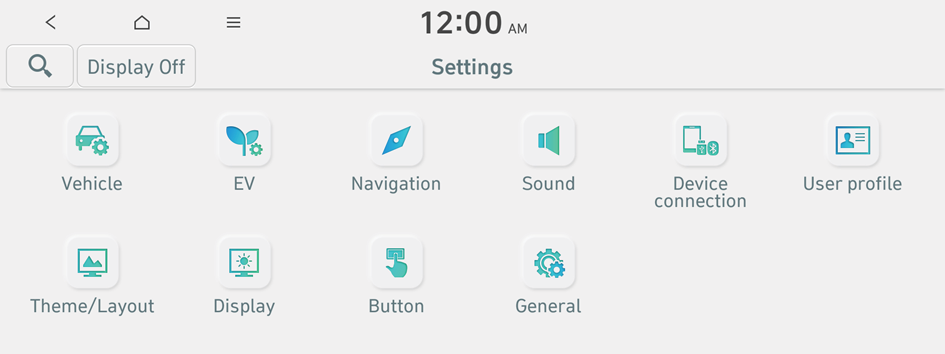
Type2
- The screen may differ depending on the vehicle model and specifications.
- If the vehicle is type 2, it is possible to change the graphic theme to white or black. ▶ See "Graphic themes (if equipped)."
- Configure the settings required:
- Press
 ▶ Search for settings or press
  and enter a keyword to search for a setting item.
 - If you press Display Off at the top of the screen, the screen is switched off. To switch the screen back on, press the screen or briefly press the power button.
Graphic themes (if equipped)
Select the desired display theme.
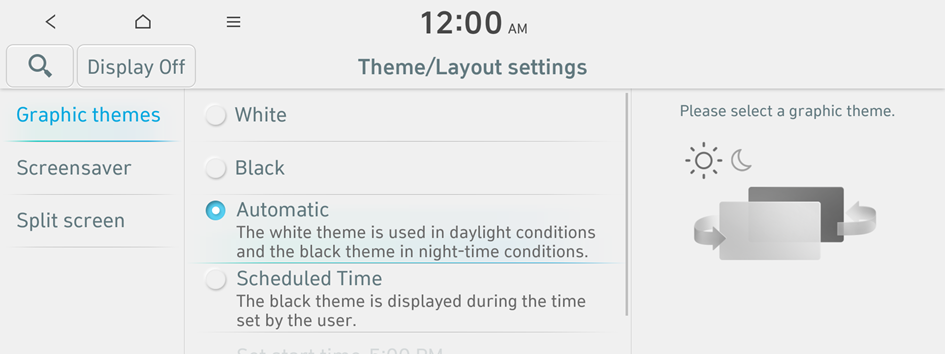
- The screen may differ depending on the vehicle model and specifications.
Select theme (if equipped)
Select and apply a theme to the cluster.
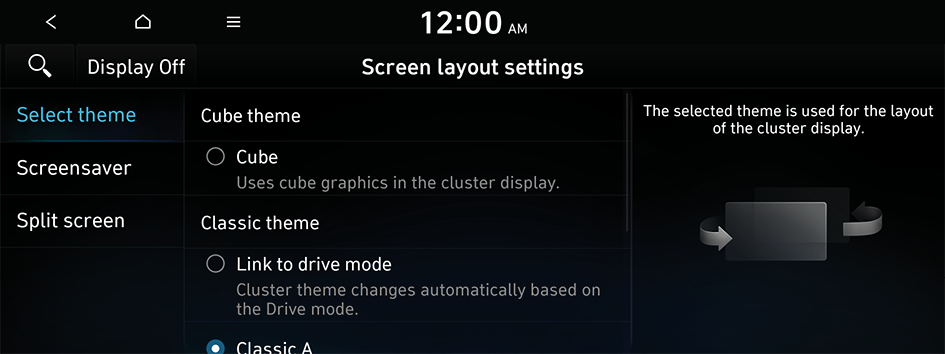
Option A
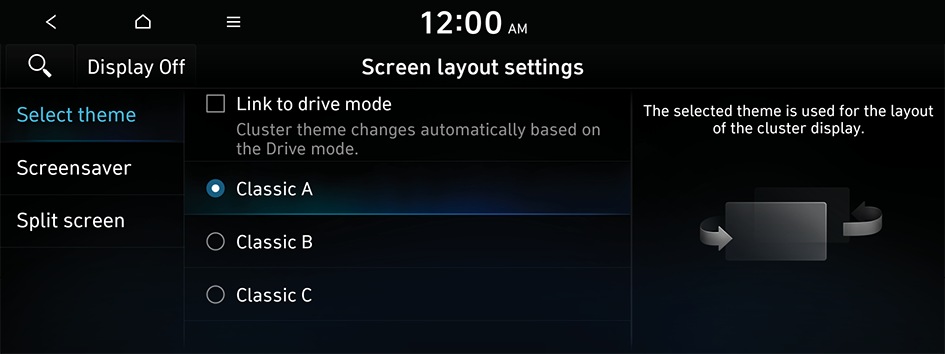
Option B
- The screen may differ depending on the vehicle model and specifications.
Cube (if equipped)
Uses cube graphics in the cluster display.
Link to drive mode
Cluster theme changes automatically based on the Drive mode.
Screensaver
You can select the items to display on the screen saver in standby mode.
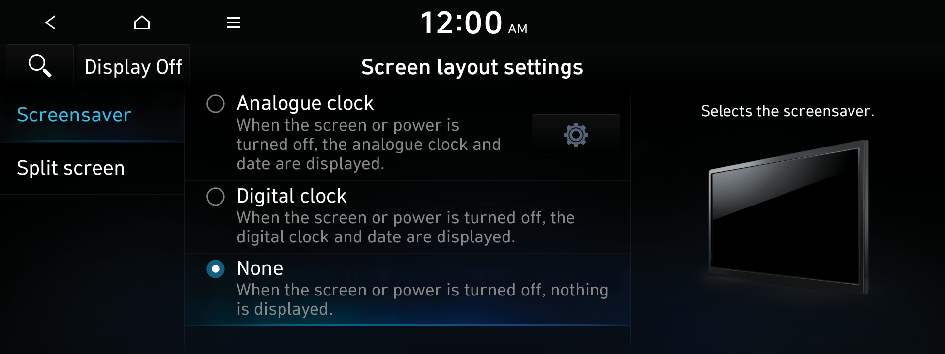
Analogue clock
Displays the analog clock on the system screen saver.
- Press
 to choose the Analog Clock to show on the screen.
Digital clock
Displays the digital clock on the system screen saver.
None
Displays nothing on the system screen saver.
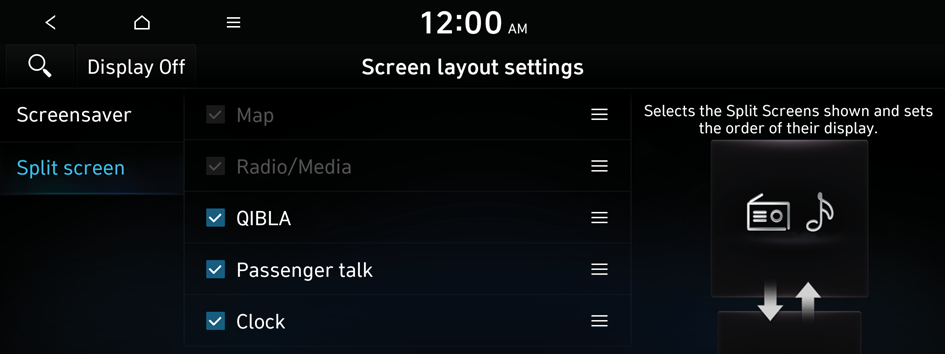
Split screen
Specify the menu screen to view on the Split Screen when using the system.
- The displayed screen or supported functions herein may be different from the actual screen or functions provided, depending on the vehicle model and specifications.
- This option can only be configured when the screen supports Split Screen.
- On the screen list, press
 on the right and drag the item to reposition.


